Displaying Captured Images using a Form View
Description
It is easy to configure a Form View such that it can be used to select and save, or 'capture', images to a list control.
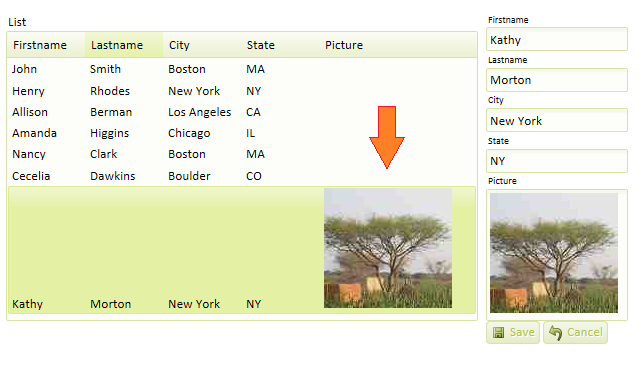
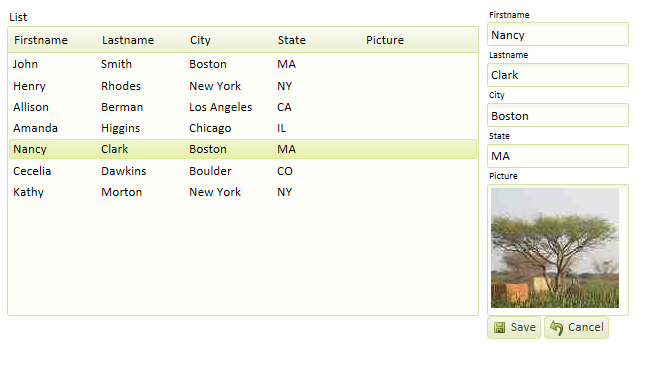
In this example, a form view opens after a user clicks on a given row in the list control. The user can then select an image from his or her file system to display in the form view and, if desired, add to the list control. For a visual explanation watch this video or read the guide below.
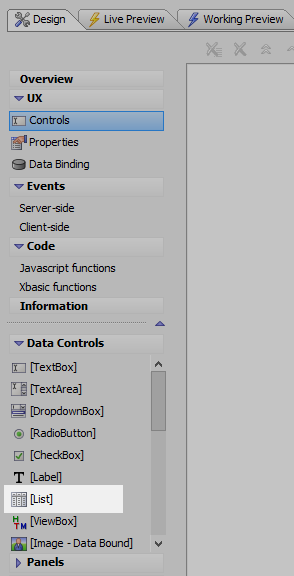
In the UX Builder, open the Controls page. In the Data Controls menu click [List] to add a list control to the component.
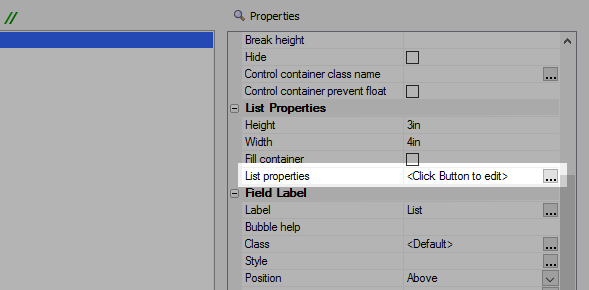
In the control's properties list, in the List Properties section, click on the 'List properties' property to open the List Builder.
In the List Builder's Data Source pane select 'Static' in the Data Source Type' menu.
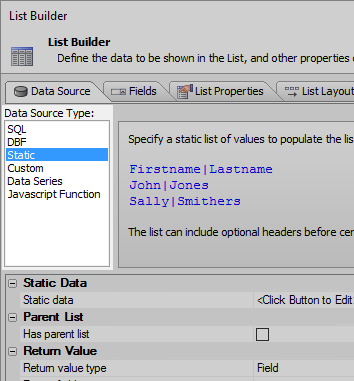
Click the [...] button next to the Static data property.
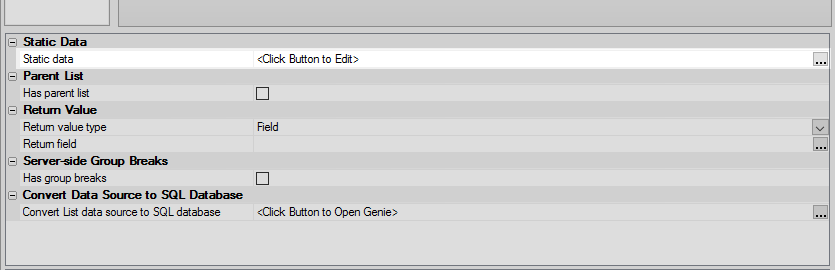
In the Static Choices dialog click the 'Sample data' button in the lower left corner.
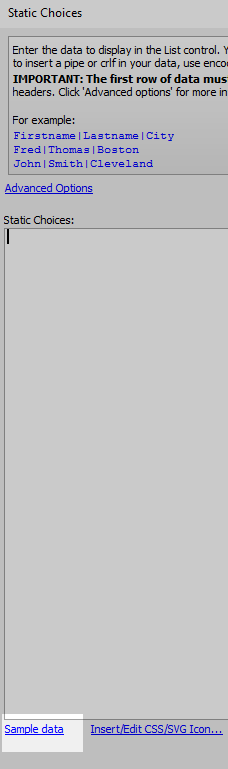
Add the 'Name and addresses' data and click OK.
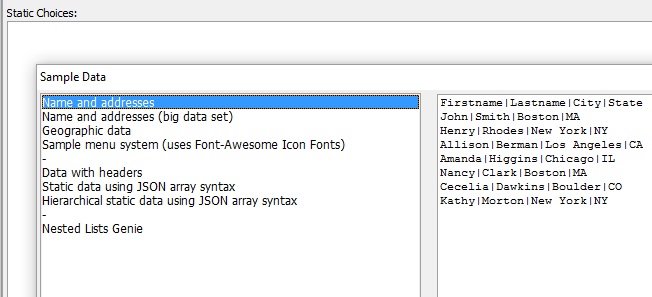
In the first row of the data add a fifth field named 'Picture'. Your Static Choices data should look like this, click OK:
Open the 'Fields' pane of the List Builder. On the left, highlight the 'Picture' field.
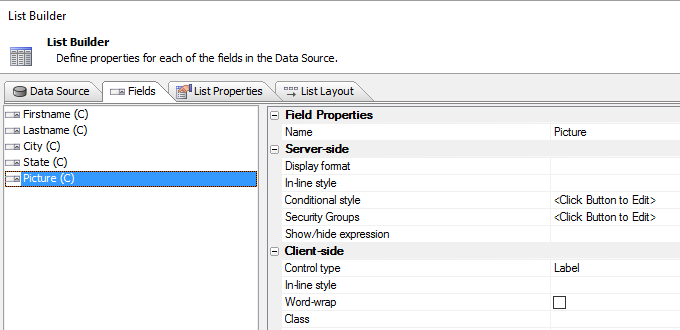
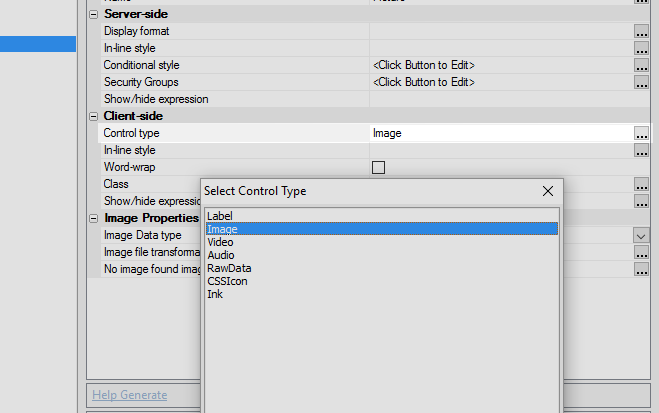
In the Client-side section of the 'Picture' field's properties list, on the right, click the [...] button next to the 'Control type' property. Set the control type to be 'Image'
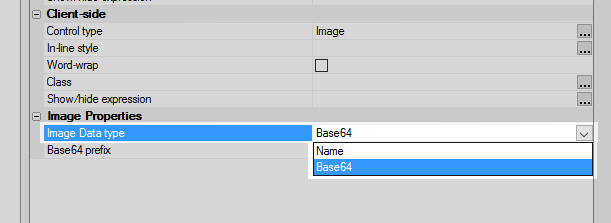
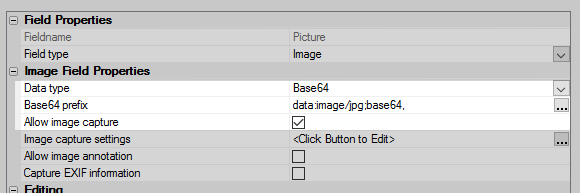
In the Image Properties section set the 'Image Data type' to be Base64.
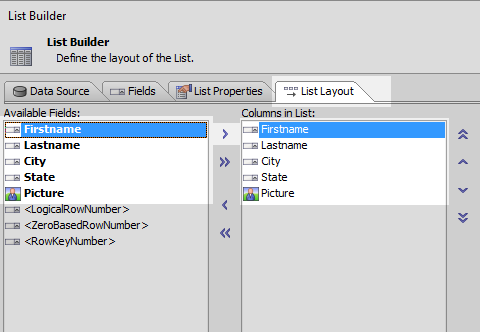
Open the 'List Layout' pane. Use the blue > arrow to move all of the data fields from the Available fields list into the Columns in List. Then click OK to close the list builder.
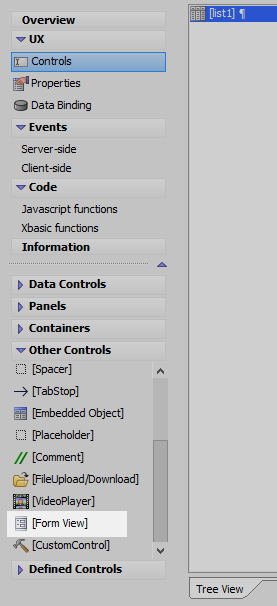
On the UX coontrols page open the Other Controls menu. Click on the [Form View] option to add a form view control to the component.
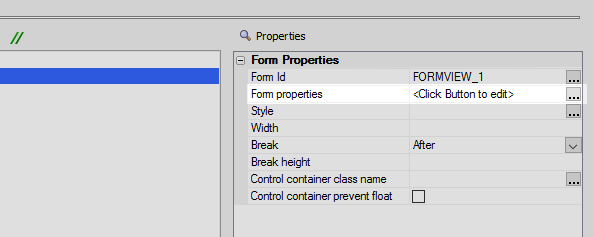
Click on Form properties to open the form view builder.
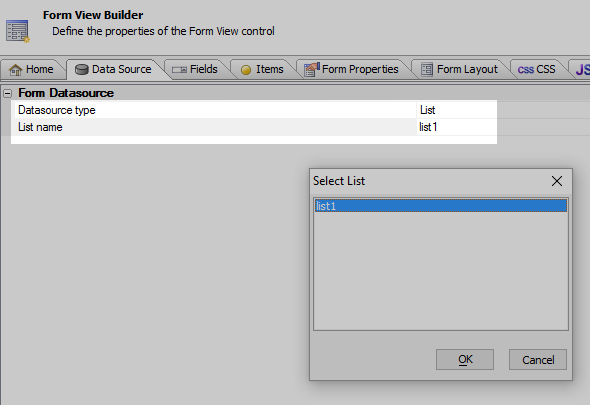
Open the Data Source pane. Set the Datasource type to 'List'. Using the dropdown, set the List name property to be list1, or the name of the list defined earlier.
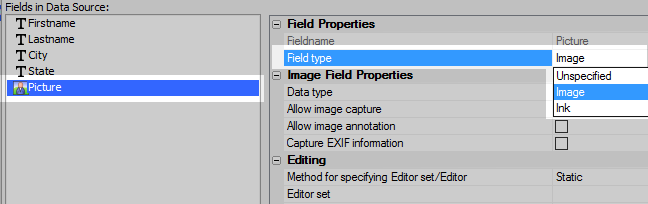
Open the Fields pane and highlight the 'Picture' field.
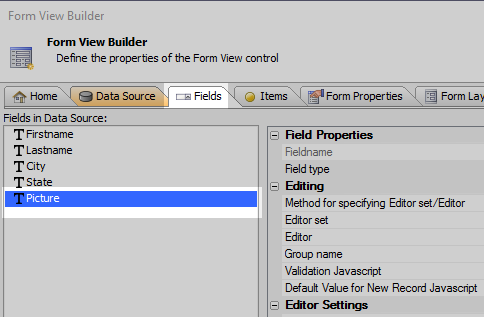
In the Field Properties section change the Field type from 'Unspecified' to 'Image'.
In the Image Field Properties for the 'Picture' field check the 'Allow image capture' checkbox.
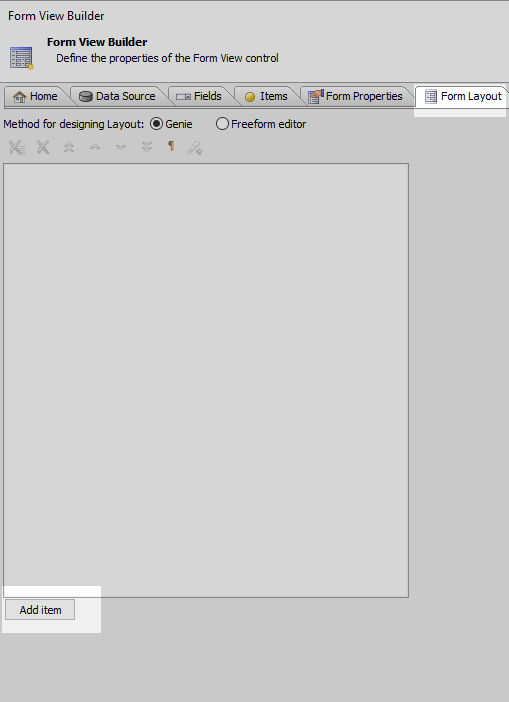
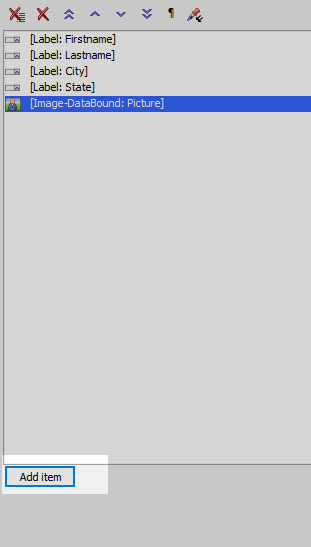
Open the Form Layout pane of the Form View Builder and Click the 'Add item' button.
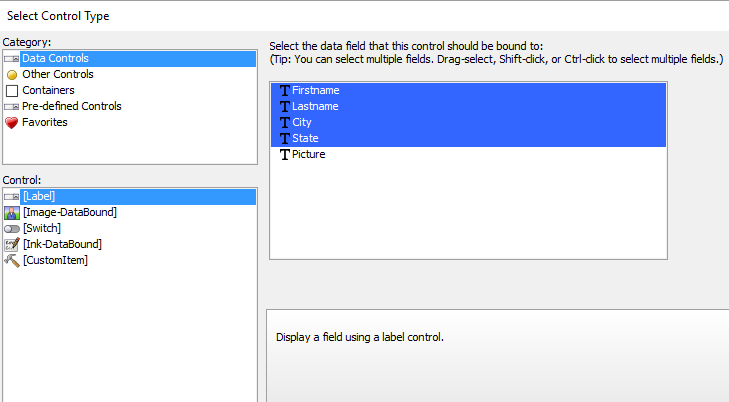
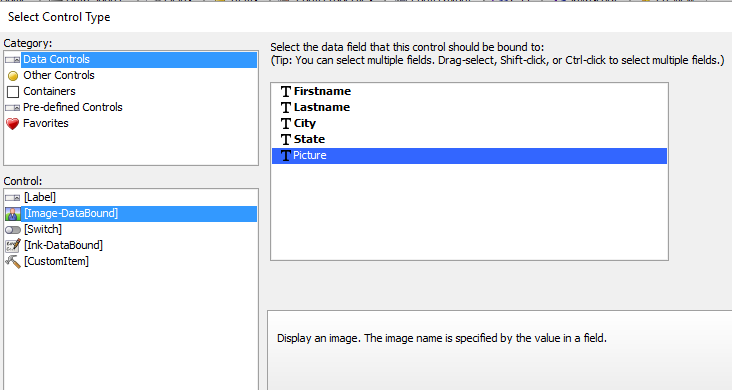
In 'Category' menu select Data Controls, in the Control menu select [Label], and in the field list select highlight the Firstname, Lastname, City, and State fields. Click OK to add theses to the control.
Click the 'Add item' button again. Select 'Data Controls' again in the Category menu. This time in the Control menu select [Image-Databound], then highlight the 'Picture' field and click OK.
Click the 'Add item' button in the Form Layout pane one final time.
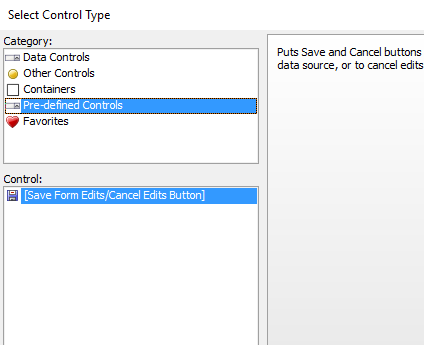
In the Category menu select 'Pre-defined Controls'. In the Control menu select [Save Form Edits/Cancel Edits Button] and click OK.
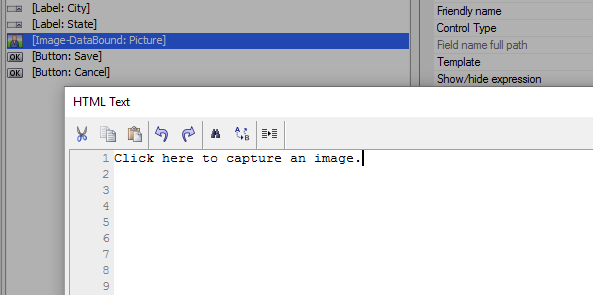
Highlight the [Image-DataBound: Picture] item that you added. In the Image Properties section of its properties list click on the [...] button next to the 'Missing image HTML' property.
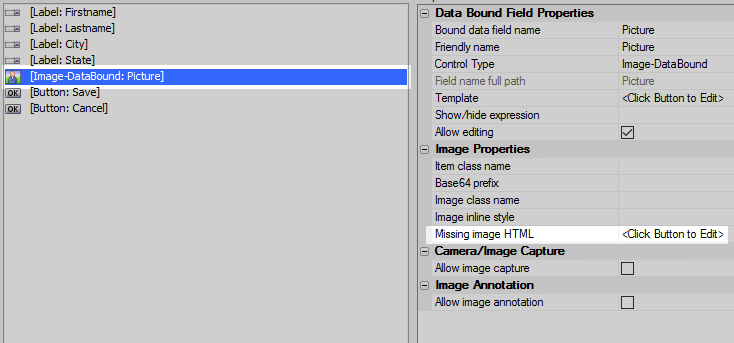
Add the following message. This will be displayed when there is no defined image.
Click here to capture an image.
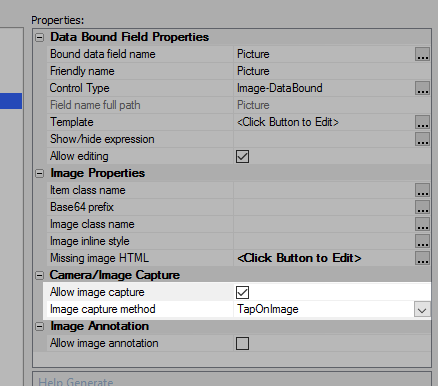
In the Camera/Image Capture section check the Allow image capture property. Set the Image capture method to be 'TapOnImage'. Click OK to close the Form View Builder.
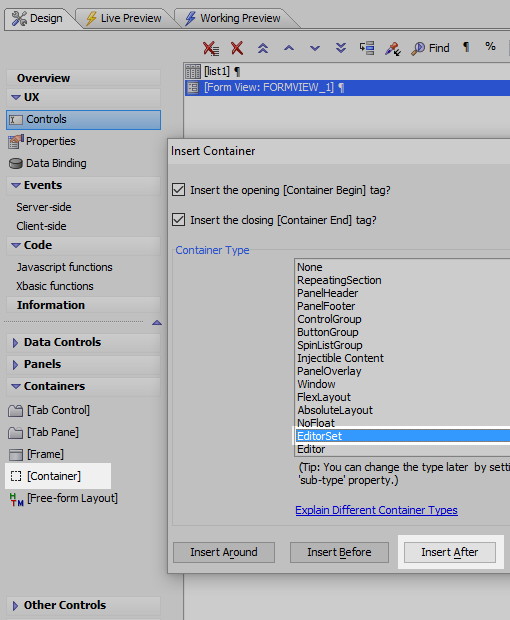
On the UX Controls page again open the Containers menu. Click on the [Container] option. On the Insert Container dialog's 'Container Type' menu, select 'Editor Set' and hit the 'Insert After' button.
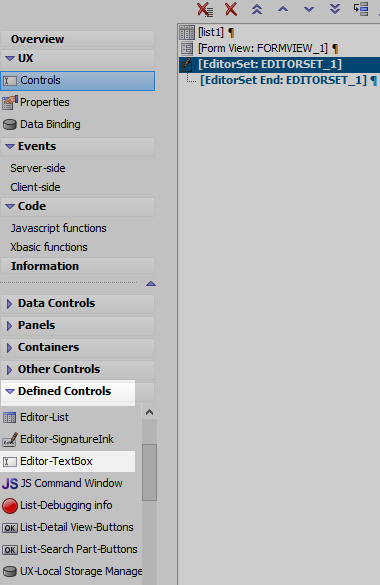
Open the Defined Controls menu. Click on the Editor-Textbox option to add an editor inside the editor set container.
Highlight the Form View control. Open the Form View Builder again and go to the Fields pane.
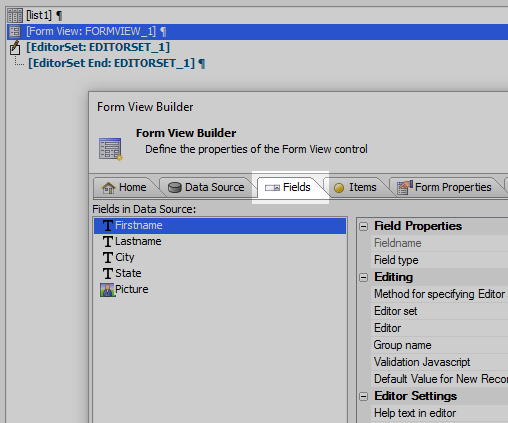
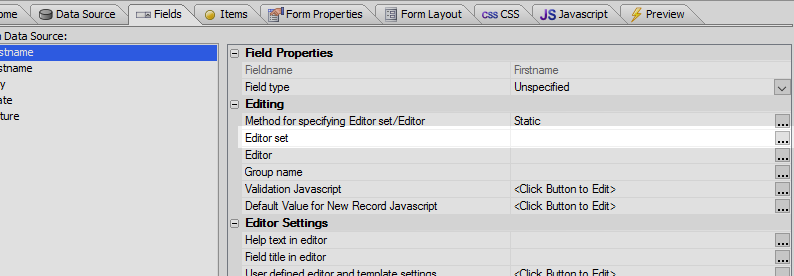
In the 'Editing' section click the [...] button next to the 'Editor set' property.
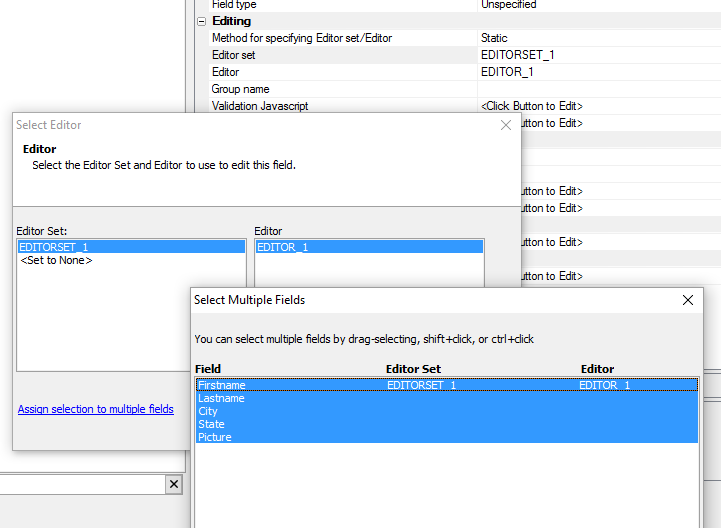
In the Select Editor dialog highlight the Editor set you defined and then the Editor. Click the 'Assign selection to multiple fields' button, highlight all of the fields and click OK.
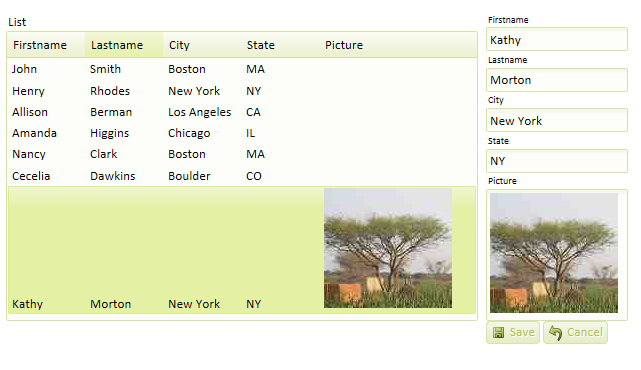
Close the Form View Builder and run the component in Live Preview. Highlight a row in the list to open th form view. The click on the picture field to edit it. Navigate to the picture you want to insert on selected list row.
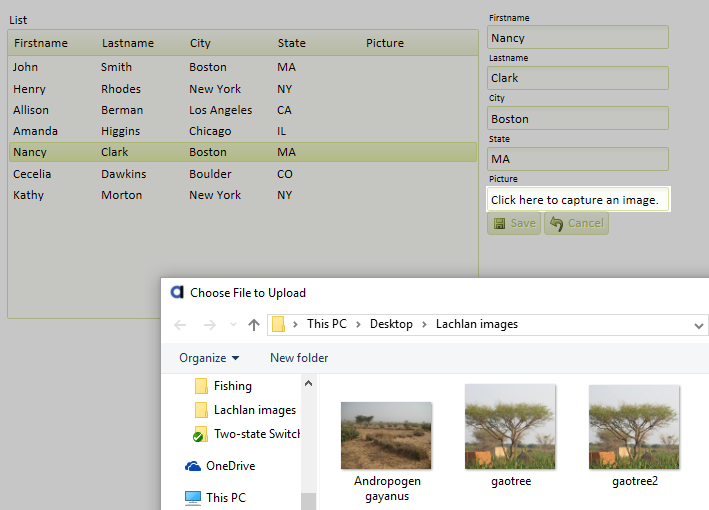
Click the Save Button to save the image to the list.
See Also